Publishing a Zola site to GitHub Pages with Nix and GitHub Actions

Escher, M.C. Metamorphosis II. 1939-1940. Woodcut printed from 20 blocks on 3 combined sheets. National Gallery of Art, Washington, D.C.
This article is a bit meta, but it explains how this blog is deployed and hosted. I use this setup because it's both powerful and convenient. Nix ensures that the site builds consistently on any machine. GitHub provides free hosting and automates the deployment process. Together, these tools make it easy to manage and update the site.
What is Zola?
Zola is a fast, flexible static site generator written in Rust. It takes your content, applies templates, and generates a complete static website ready to be served.
Why this Setup?
- Consistent Environments: Nix creates identical build environments on any machine.
- Automated Deployments: GitHub Actions handle builds and deployments automatically.
- Free Hosting: GitHub Pages hosts your site at no cost.
- Version Control: Your site's content is version-controlled with Git.
- Modularity: Content, site generation, build process, and deployment are separate, easing maintenance.
Prerequisites
- A Nix Installation (The package manager or NixOS)
- A GitHub Account
- Basic familiarity with Git and command-line operations
Workflow
To better understand the entire process, let's look at a visual representation of the workflow:
  flowchart LR
    A[Local Development] --> B[GitHub Repository]
    B --> C[GitHub Actions]
    C --> D[Build with Nix]
    D --> E[Deploy to GitHub Pages]
    E --> F[Site Live]

    A -->|Push Changes| B
    C -->|Triggered on Push| D

    style A fill:#f9d71c,stroke:#333,stroke-width:2px
    style C fill:#8da0cb,stroke:#333,stroke-width:2px
    style F fill:#66c2a5,stroke:#333,stroke-width:2px
Now, let's walk through each step to get your site live.
Setup
1. Scaffolding a Zola project
First, let's create a new Zola project:
This command creates a new Zola project named my-zola-site. The Zola CLI will ask you some setup questions. Don't worry too much about your choices; you can always change them later in config.toml.
After setup, your project structure should look like this:
To see your site locally, run:
Visit the URL printed in your terminal (usually http://127.0.0.1:1111) to see your new Zola site:
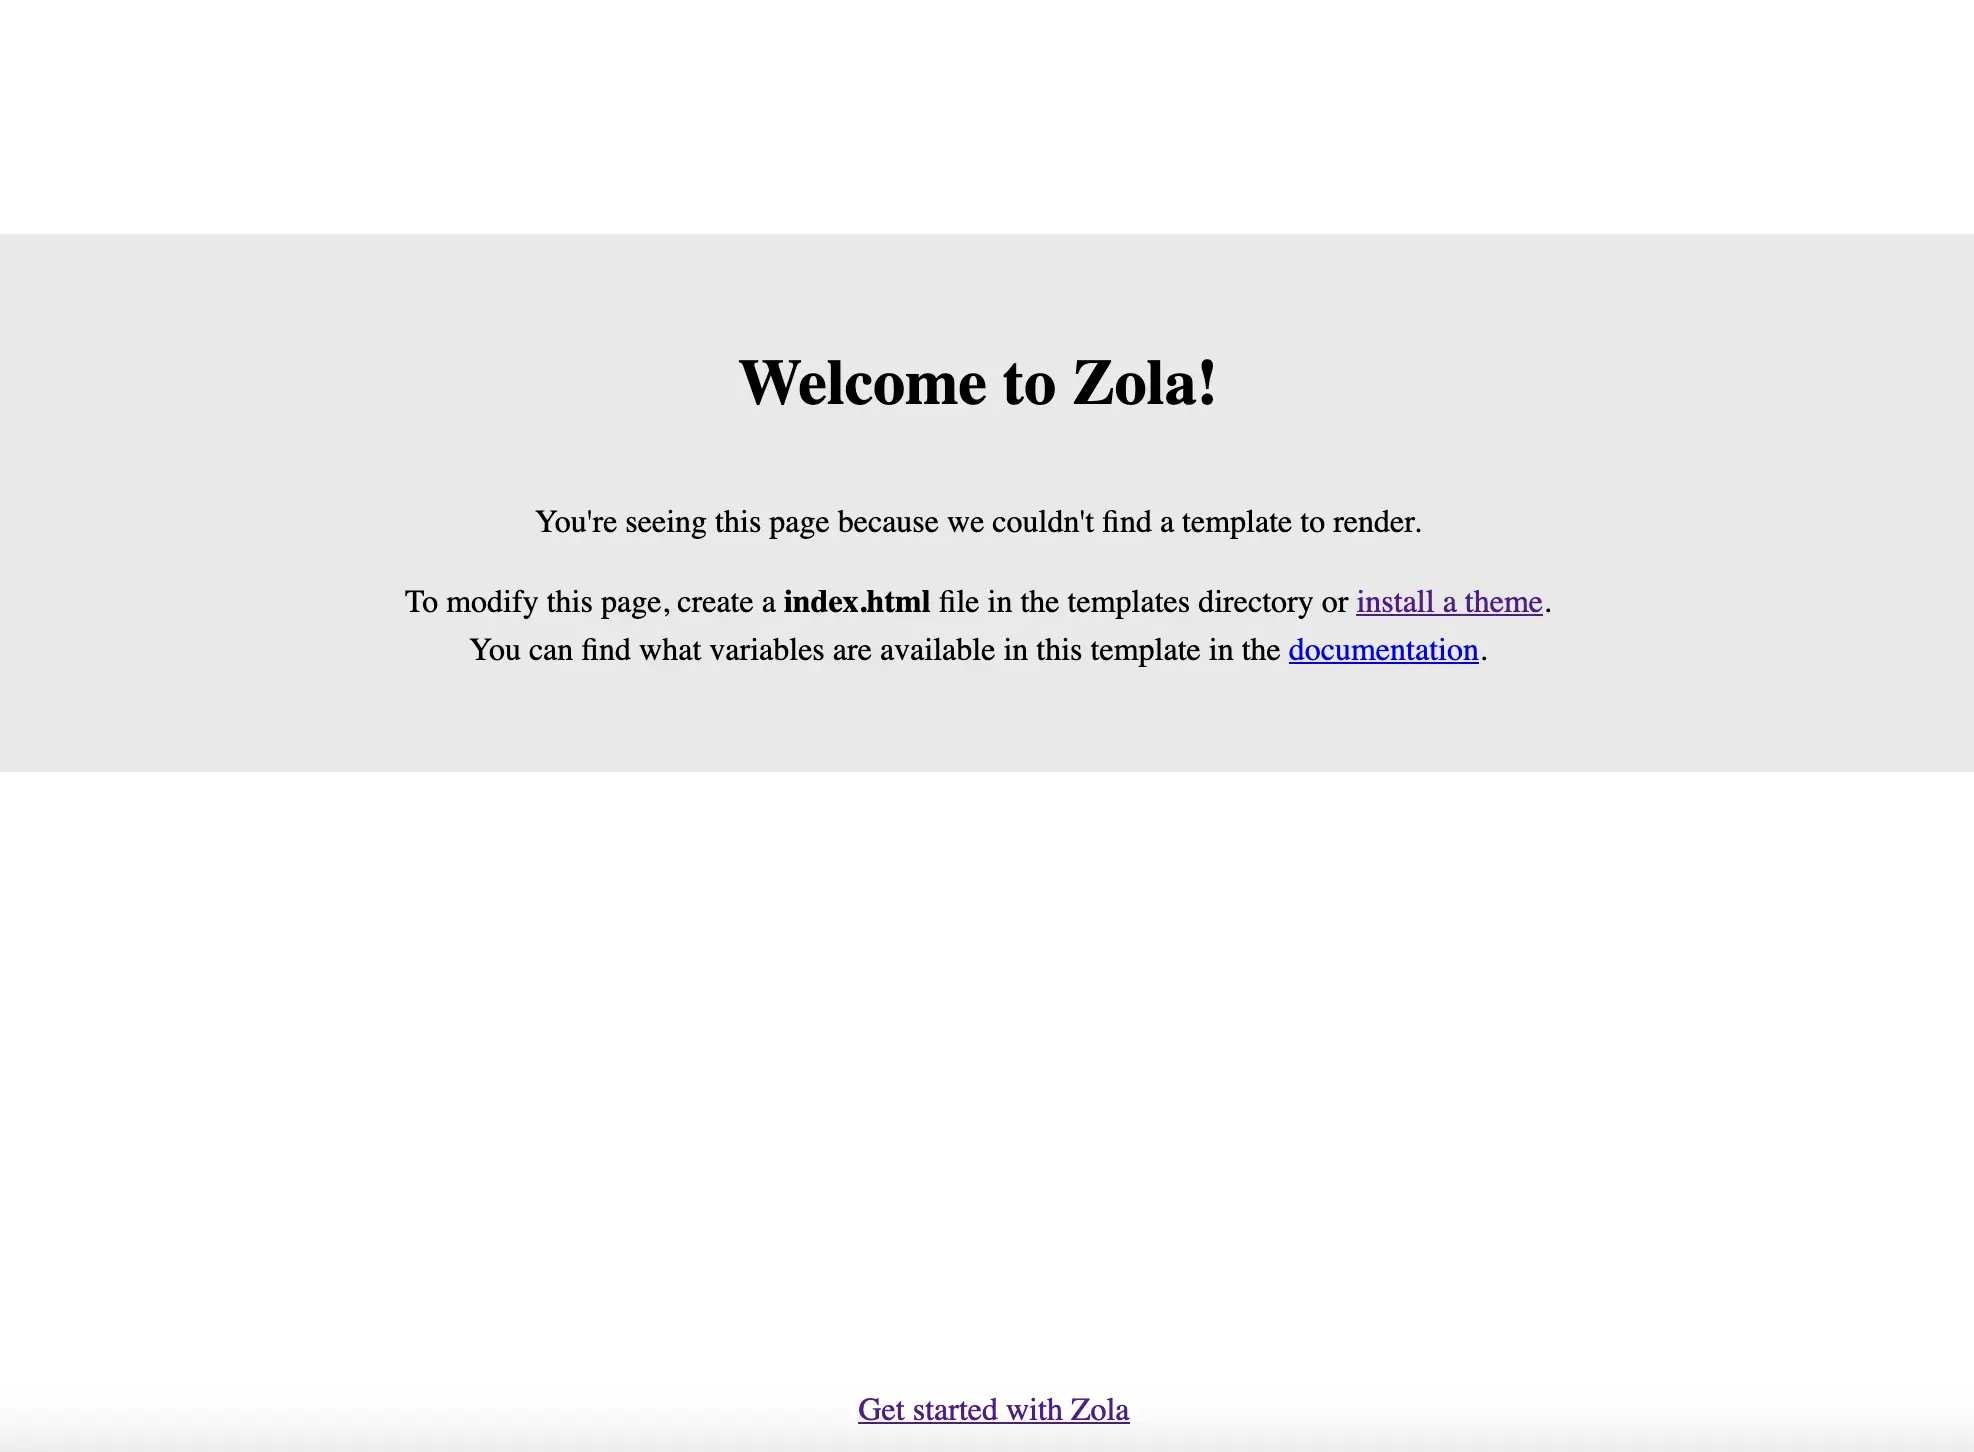
By default Zola will serve on
http://127.0.0.1:1111, but you can change the interface and port with the--interfaceand--portflags respectively.
2. Setting up a Nix Flake
Create a file named flake.nix in your project root with the following content:
1 {
2 description = "Zola site built with Nix";
3
4 inputs = {
5 nixpkgs.url = "github:NixOS/nixpkgs/nixos-unstable";
6 flake-utils.url = "github:numtide/flake-utils";
7 };
8
9 outputs = { self, nixpkgs, flake-utils }:
10 flake-utils.lib.eachDefaultSystem (system:
11 let
12 pkgs = nixpkgs.legacyPackages.system;
13 in
14 {
15 devShells.default = pkgs.mkShell {
16 buildInputs = [ pkgs.zola ];
17 };
18
19 packages.default = pkgs.stdenv.mkDerivation {
20 name = "example"; # replace me
21 src = self;
22 buildInputs = [ pkgs.zola ];
23 buildPhase = "zola build";
24 installPhase = "cp -r public $out";
25 };
26 }
27 );
28 }
This flake defines both a development environment and a build process for your Zola site.
Detailed Flake Summary
Let's break down the key parts of this Nix flake:
- Description: A brief description of the flake's purpose.
- Inputs:
nixpkgs: The main Nix packages repository.flake-utils: A utility library for writing flakes.
- Outputs: This function defines what the flake produces.
- It uses
flake-utilsto generate outputs for each default system. devShells.default: Defines a development environment with Zola installed.packages.default: Defines how to build the Zola site:- Uses the flake's own directory as the source.
- Builds the site with
zola build. - Copies the
publicdirectory to the output.
- It uses
This setup allows for consistent development and build environments across different machines.
To use the development environment:
You should see that you now enter a bash environment. Now run:
If this is successful, you will see the same output as we had above and should be able to navigate to the default Zola page.
To build the site:
3. GitHub Actions
Create a file at .github/workflows/publish.yml with the following content:
1 name: Publish
2
3 on:
4 push:
5 branches:
6 workflow_dispatch:
7
8 permissions:
9 contents: read
10 pages: write
11 id-token: write
12 deployments: write
13
14 jobs:
15 build:
16 runs-on: ubuntu-latest
17 steps:
18 - name: Checkout
19 uses: actions/checkout@main
20 with:
21 submodules: recursive
22 - name: Install Nix
23 uses: DeterminateSystems/nix-installer-action@main
24 - name: Run the Magic Nix Cache
25 uses: DeterminateSystems/magic-nix-cache-action@main
26 - name: Build with Nix
27 run: |
28 nix build '.?submodules=1#'
29 - name: Upload artifact
30 uses: actions/upload-pages-artifact@main
31 with:
32 path: ./result
33
34 deploy-production:
35 environment:
36 name: github-pages
37 url: ${{ steps.deployment.outputs.page_url }}
38 runs-on: ubuntu-latest
39 needs: build
40 if: github.ref == 'refs/heads/main'
41 steps:
42 - name: Deploy to GitHub Pages
43 id: deployment
44 uses: actions/deploy-pages@main
This workflow builds your site using Nix and deploys it to GitHub Pages whenever you push to the main branch.
Detailed GitHub Actions Summary
Let's break down the key components of this GitHub Actions workflow:
- Triggers: The workflow runs on pushes to the
mainbranch and can be manually triggered. - Permissions: Sets necessary permissions for GitHub Pages deployment.
- Jobs:
- build:
- Checks out the repository with submodules (important for themes).
- Installs Nix using a third-party action.
- Builds the site using our Nix configuration.
- Uploads the built site as an artifact.
- deploy:
- Runs only after the build job succeeds.
- Deploys the built site to GitHub Pages.
- build:
This workflow automates the entire process from pushing changes to your repository to having those changes live on your site.
Note the
submodules: recursiveparameter in the checkout step and also the flag'.?submodules=1#'passed innix build. This is crucial if you're using a Zola theme as a Git submodule, ensuring it's properly included in the build.
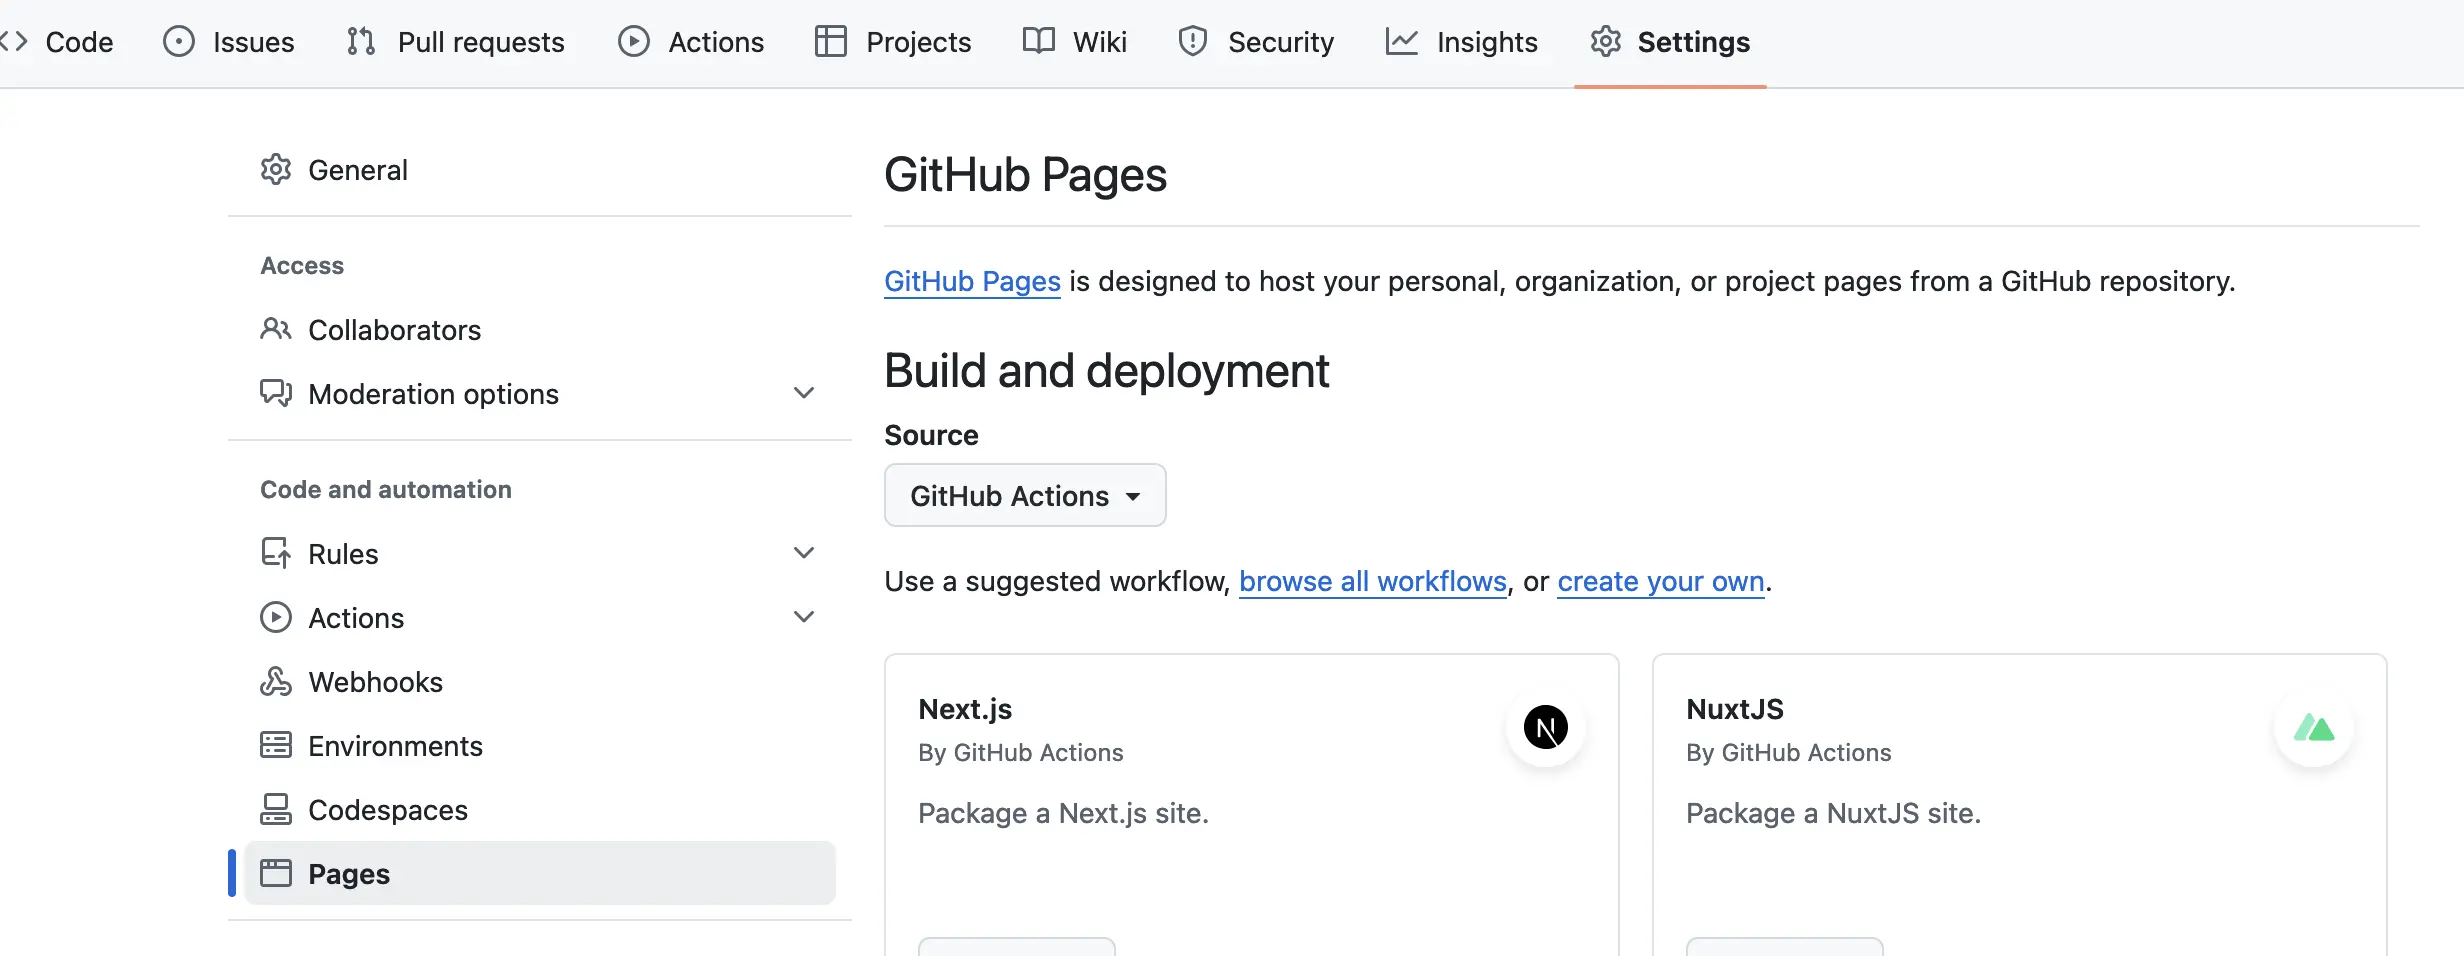
4. GitHub Pages
In your GitHub repository settings, under "Pages", set the source to "GitHub Actions".
Deployment
To deploy your site:
- Commit your changes
- Push to your GitHub repository
- GitHub Actions will automatically build and deploy your site
You can monitor the deployment in the "Actions" tab of your GitHub repository.
Customization
To customize your Zola site:
- Theme: Choose a theme from the Zola themes gallery
- Configuration: Edit
config.tomlfor site-wide settings - Content: Add Markdown files to the
contentdirectory - Templates: Customize HTML structure in the
templatesdirectory - Static Files: Add images, CSS, or JavaScript to the
staticdirectory
Always test changes locally with zola serve before pushing to GitHub.
Conclusion
You now have a Zola site that automatically builds and deploys to GitHub Pages using Nix and GitHub Actions. This setup provides reproducible builds, automated deployments, and free hosting.
The source code for this site can serve as a reference for your own projects.